
MK Boom – winning design
MK Boom – winning design
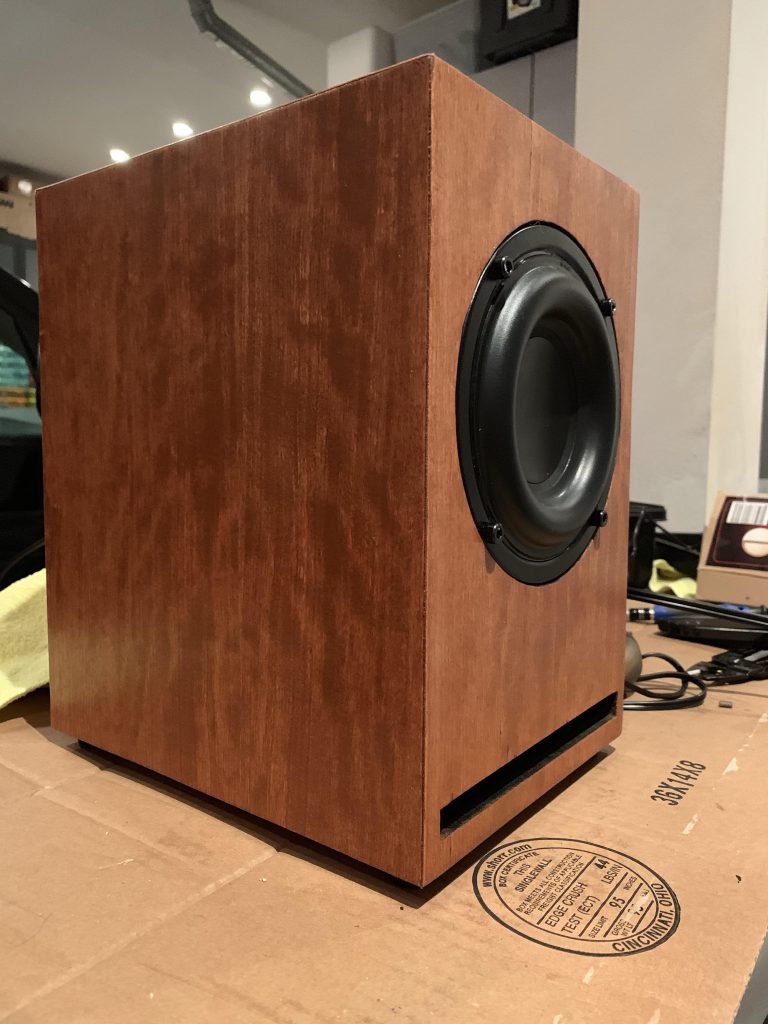
Recently Sound Advice had a DIY boombox competition. The goal was to take a premade boombox kit from Parts Express and transform it aesthetically to just wow people. I ended up with the MK boom, an inexpensive $130 diy boombox kit. It was small, so I had to get creative. So for this, I used Epoxy and a blue powder to create this beautiful look to it. After that was finished, I back lit it with LED’s. Overall, I was very happy. It seems others liked this $130 boombox transformation, as I ended up winning the competition. Let me know if you have any questions. But for now, here are some pictures and the video of the build process.
MK Boom Boombox Video
MK Boom Boombox Pictures


MK Boom’s Unique Design
The MK Boom boombox isn’t in itself a unique design. It isn’t like the fully waterproof boombox or like the fun Emoji Boombox. This was more like an ammo can boombox. You really had to work with the structure already given to you to make the unique design. That is what made the MK Boom Boombox so hard to design. What could I do that was so different, that could make this $130 MK Boom look to be worth so much more? That is when it hit me. You don’t see many boomboxes with an epoxy pour. And definitely not many with an LED lit epoxy pour.
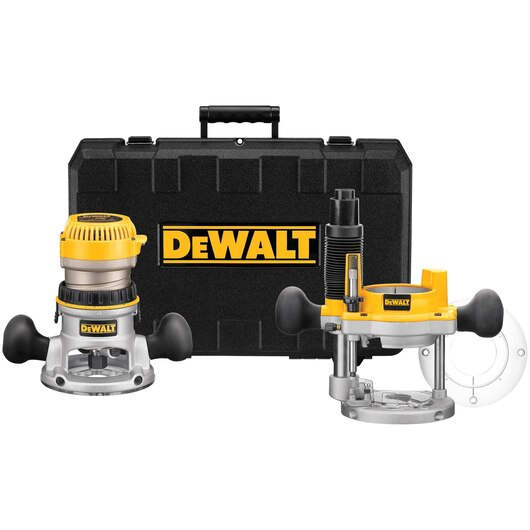
For this, I decided to use my CNC. Now you could make jigs to make this work, but I choose to use my CNC design software and have it cut this out. I would love to say it went smoothly, but I had to cut 5 tops out before one worked correctly. Even when the machine is doing ti, there can be issues.
MK Boom Challenges
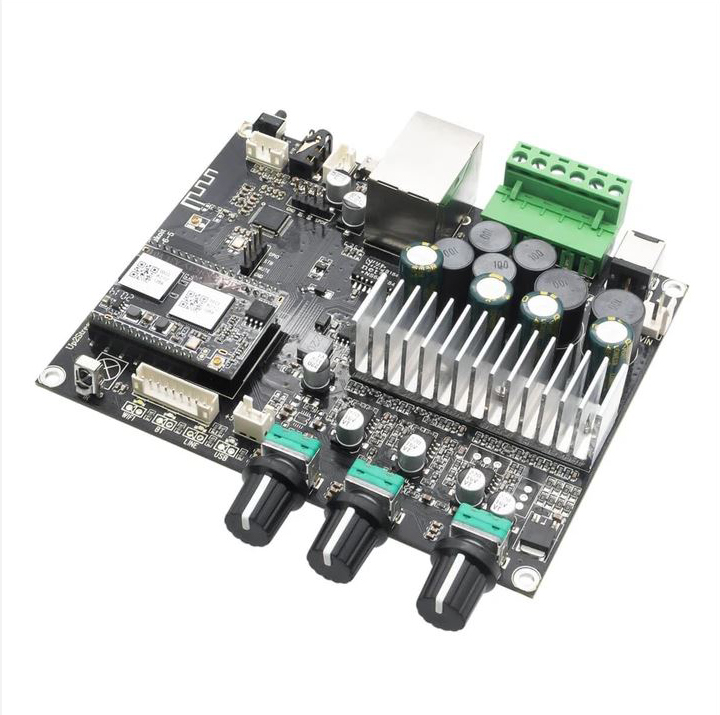
Besides the top taking numerous cuts before ti worked out. There were a few more challenge. The first was how to add led lighting. I had two options. First, I could using the 12v output on the battery pack itself. Each of the Dayton boards have this 12v out, so it is easy to run an accessory. However, by doing this you have to run a power switch between the lights. Typically you could just use a DPST switch. However, the power on the Dayton board doesn’t work like a normal power switch. SO I couldn’t use a DPST.
Another option was to take the MK Boom’s power input and split the power signal coming in. Since this comes with a 15v power supply, you would want to run a step down to step down the power to 12v.
In the end, I choose neither of these options and instead, just ran the lights to the power switch. Which mean that when the battery is charged or the MK boom is plugged in, the boom box is technically on. But that didn’t really bother me.
MK Boom Final Thoughts
The MK Boom is a decent starter DIY Boombox that you can really tailor it to your style. It is a little harder to work with since it is so small. But you can get creative and make make something. Not to mention the wiring is all plug and play, minus soldering the crossover to the amplifier board.
The sound quality isn’t the best I’ve heard, but it is adequate at the $130 price range. It doesn’t go as deep in bass as some and the response can get a little sloppy. But over all, I think the MK boom is a fine kit for someone to start making a DIY boombox.


Any idea what the F3 is on this?